The new generation of consoles has finally caught up with the PC tech to give us one of the best experiences. We now have the PS5, which is also highly customizable.
Sony’s PS5 gives gamers all the power to decide how to experience their games. It allows you to record gameplay in ways previous consoles couldn’t.
PS5 comes with an in-built recording system that allows you to stream directly to Twitch or YouTube.
Here’s what you need to know about setting your PS5 to record your gameplay and all the options you have.
PS5 Video on HDMI 2.1 is 4K120
What does 4K 120 mean?
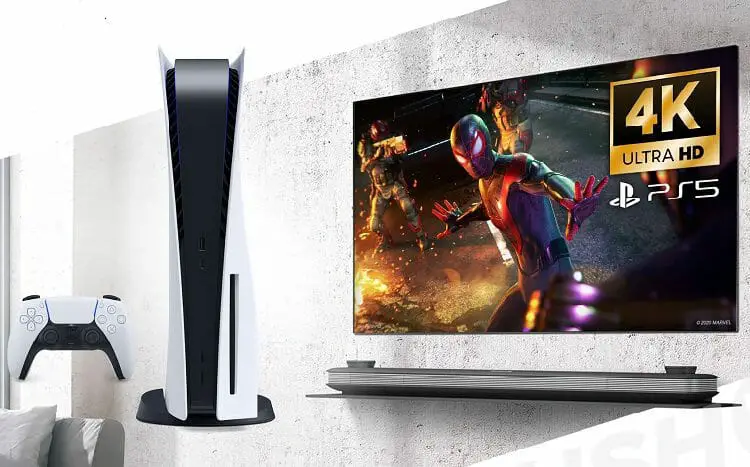
It is the defining experience in gaming: beautiful shadow effects and lighting and the best ray tracing possible.
4K120 means four times higher resolution than the standard HD resolution. Now combine that resolution with 120 fps, and you get the 4K 120. Although 4K TVs that support 120 fps are not standard, it is still possible to enjoy the highest resolution in any PS5 console.
If you want to set your PS5 for 4K 120, you can follow the next steps:
- Go to Settings.
- Press on Screen and Video.
- Go to Video output
- Choose 4k Video Transfer Rate.
The console itself will give you the best possible resolution regardless of your entertainment system. However, Sony is already working to make 4K120 TVs more accessible.
Not All Games Will Run at 4K
Unfortunately, there are just a handful of games designed and programmed that you can play at 4K 120. Although Sony has announced 27 games for the PS5, only eight runs at 120fps.
The 4K 120 games for PS5 are the following:
- Borderlands 3
- Call of Duty: Black Ops Cold War
- Destiny 2
- Devil May Cry 5
- Dirt 5
- Monster Boy and the Cursed Kingdom
- The Nioh Collection
- Tom Clancy’s Rainbow Six: Siege
We might see new releases in the next couple of years.
Buying a Dedicated Capture Card Vs. Capturing Footage on the Console Itself
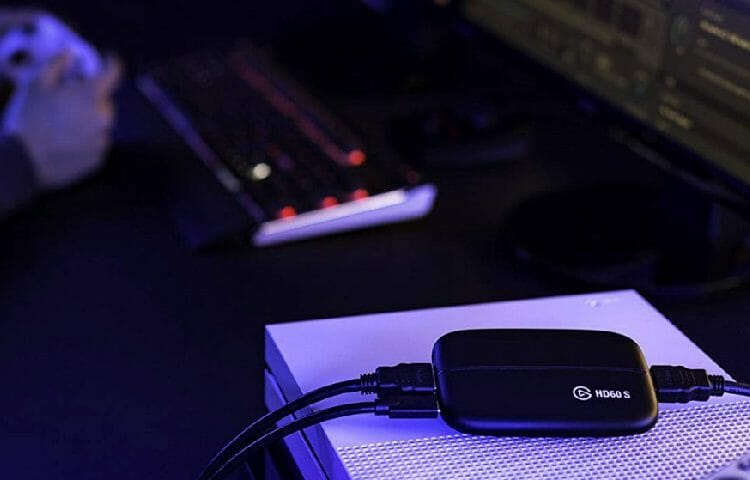
The inbuilt capture system of PS5 is excellent, and it allows you to stream your gameplay with ultra quality. However, it is still compatible with a dedicated capture card like Elgato.
Both options will give you great results, but the dedicated capture card will allow you more control over the record of your gameplay.
Overall, the inbuilt capture footage of the PS5 will be enough for a high-quality record and streaming. It won’t compromise the game’s quality so that you won’t get lag. However, if you want more customize options, then go for the capture card.
Best Dedicated Capture Cards for PS5
Although PS5 and other new generation consoles have built-in capture systems, many gamers prefer an external card for streamings and recordings.
These are the best capture cards on the market:
- AverMedia Live Gamer Bolt GC555: It is one of the best capture-cards you will find. The Gamer Bolt uses Intel Thunderbolt and holds 2160p60 and HDR recording. It is an expensive choice, but it will give you no problems while streaming or just recording.
- Elgato Game Capture 4K60 Pro MK.2: Elgato focuses on recording at 4K 60fps, which will give you some of the best recording quality possible. Elgato’s critical feature is that you can attach it to your motherboard so you’ll get the best quality video.
- AverMedia Live Gamer Duo: This capture card is designed specifically for streaming. It comes with a dual HDMI input, so you’ll be able to connect the console and a digital camera to record. It does not support 4K recording, but it will not give you problems at 1080p.
- AVerMedia Live Gamer ULTRA – GC553: It is the more affordable AVerMedia option, and it supports 4K and HD. If you want the possibility of both, then the GC553 will work well for you.
PS5 Inbuilt Capture Settings
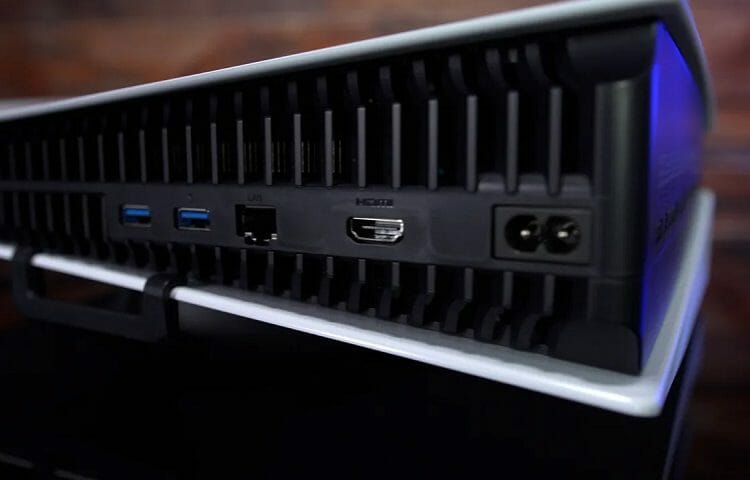
Sony’s new console is a significant achievement not only in terms of game quality but because of all the additional features.
PS5 comes with an inbuilt capture card that is easy to use and supports 4k recording. Not only that, but it also allows you to stream directly to your favorite platforms, which is an incredible step-up from the PS4 “share button.”
The built-in capture card is one click away as you only need to press your controller’s create button. You’ll find it on the left trackpad of the DualSense controller.
The feature will also allow you to take screenshots whenever you want.
PS5 Records games while you play by default
One of PS5’s most outstanding features is that it records your gameplay by default so that you can decide whether to save it or not. It achieves this by making use of its powerful in-built capture card.
If you wish to record gameplay while playing the PS5, you must first enter the Creative menu by pressing the Create button on the DualSense controller. An option called ‘Start New Recording’ lets you record as much gameplay video as you’d like.
When you choose this option, a little black box will appear at the top of the screen to remind you that you’re recording and include a timer to keep track of how long the video is. You can simply focus on your game while the recording is taking place in the background.
When you’re ready to stop recording, hit the Create button once more, then the ‘Stop Recording’ option.
The PS5 capture setting will allow you to save up to the last 60 minutes of gameplay or as little as the final 15 seconds.
The card captures gameplay footage at 1080p and 60fps by default, but you can change it to record higher qualities. PS5’s capture card supports 4K recording, so you will be able to choose which quality you want to use.
Note: If you press the Create button twice, it will save your recent gameplay.
How to Save The Recorded Video
The PS5’s Creative menu stores your most recent gameplay, allowing you to instantly recover footage of yourself playing any game even if you weren’t recording it. This is useful if you want to keep track of unique achievements.
By selecting the Create button on the Creative screen, you can access the Save Recent Gameplay option. You’ll be offered two alternatives after pressing the button: Save Short Clip or Save Full Video.
Save Full Video lets you record up to an hour of video, with a timer that keeps track of how far into the hour you are. Once the timer has been set for more than an hour, it will reset and prohibit you from recording anything from the preceding hour.
Save Short Clip, on the other hand, allows you to record between 15 and 30 minutes.
How to View The Media Gallery
Go to the Media Gallery from the PS5’s main screen once you’ve captured the gameplay you wish to share.
You’ll find all of the screenshots and videos you’ve taken in this folder. You can explore various choices, such as sharing the captures on social media, altering them, or saving them to a USB drive.
There’s an Edit option for editing the screenshots. It provides simple cropping and text tools. You can save the screenshot as a new file or replace the original when you’re finished. You can also cut videos or capture a screenshot to serve as your profile’s cover image while editing them.
Adding an image to your favorites makes it easier to discover in the future. If you don’t want the image anymore, you can delete it with the Delete option.
You can also choose to view all of your PS5 captures by selecting Go to Media Gallery. Filter by your Favorites or just display those linked to Trophies using the tabs along the top. Albums allow you to see captures by game.
By clicking the Options button on your DualSense, you can also choose several things. This allows you to share, delete, or copy files to a USB device in bulk. Use the sorting option to sort by date or size and show only screenshots or videos if desired. To choose several things for mass-sharing or deletion, click the checked bubble on the left side.
You can copy photos and movies to a USB device connected to your PlayStation 5. This option can be found in the More menu of the image above and at the bottom-right when selecting several items.
How To Change Your Capture Length
Changing the recording length is easy. You only need to use the create button on the DualSense controllers.
Once you access the create panel, you can choose to save the recent gameplay, start a new recording, or take a screenshot.
If you choose safe recent gameplay, you can select how much of the last gameplay you want to record. You can choose from 15s, 30s, 3m, 5m, 15m, 30 m, or an entire hour of gameplay.
If you choose to start a new recording, you will be able to capture up to an hour of gameplay or as much as you want.
The Media Gallery stores all of your footage. You can access it through the main menu. All the footage recorded will be in 1080p 60fps unless you change the video format settings before.
Change Your PS5 Capture Video Format and Size
Changing the capture format or size is important for many gamers who love to keep their gameplays to share or enjoy them later. Being able to customize the recording, the length, the format, all of that is possible with the new PS5.
There are two ways of changing the settings of your recordings. The first is by accessing the Create Button and selecting the Capture Options icon next to the Broadcast option. The menu will allow you to change the quality, the file type and enable or disable the HDR option.
However, there is another way to change the settings that give you more control over your captures.
Here’s what you need to do to:
- Go to the PS5’s main menu.
- Got to Settings.
- Select Captures and Broadcast.
Inside the Captures option, you’ll be able to select new shortcuts for the create button, as well as modify the screenshot and video format.
The Screenshot Format will allow you to enable or not the HDR option. You can also choose to disable the HDR and select the file format you want; it could be JPG or PNG.
The Videoclip Option allows you to choose from two different qualities. You can go 4K or 1080p, and the format will depend on which one you choose.
WebM: If you choose to use the best quality (4K), you can only save your gameplay in the WebM file type.
The WebM file type is excellent to upload directly to streaming, but it is not the most compatible option.
If you choose the 1080p quality, you’ll be able to save your gameplay in MP4 or WebM. MP4 being the most compatible format if you want to edit your capture at some point.
4K: As we mentioned before, you’ll be able to capture footage at 4K. You only need to change the Video Clip option to 3840×2160 to enjoy the 4K recording in the settings.
Setting Up a New Shortcut
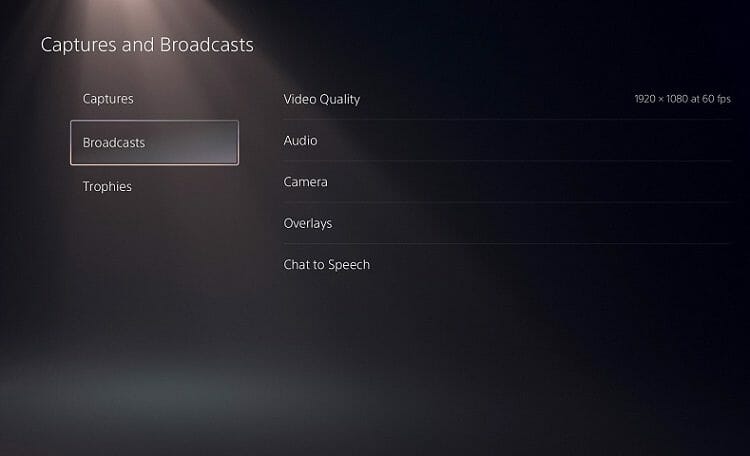
To set up a new shortcut for your Create Button, you only need to go to Settings in the PS5’s main menu. Once in there, select Captures and Broadcasts and go to Shortcuts for Create Button.
Here you’ll be able to select from three different options for your Create Button. You can choose from keeping the standard shortcut, giving you access to the Create menu, or changing it for easy screenshots or easy recordings.
Conclusion
The PS5 is an incredible achievement for console gaming. If you love to stream and share your gameplays with the rest of the gaming community, then you’ll love the PS5’s inbuilt capture card.
It is user-friendly and allows you to get the best quality possible without the need for an external Capture Card.
Overall, the PS5 will give you an excellent recording experience. If you want to go for 4k, do it. If you prefer more compatible options like 1080p, you have that choice too.

